Creating Groups for Extended Time
This tutorial will walk you through how to create a group for extended time for testing. The same directions can be applied to creating groups for specific access to items such as if a student needs early access the materials.
Directions for Creating Groups:
1. Go into your course.
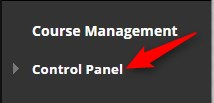
2. Click the Control Panel
3. Click Users and Groups

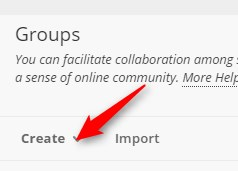
4. Click Groups

5. Click Create
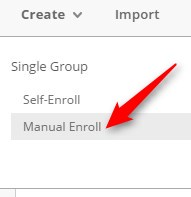
6. Click Manual Enrollment
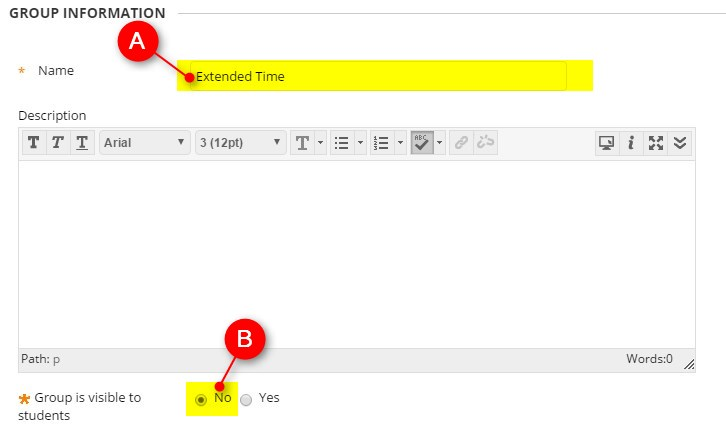
7. Enter the Name of your group and change option for Group is visible to students to No
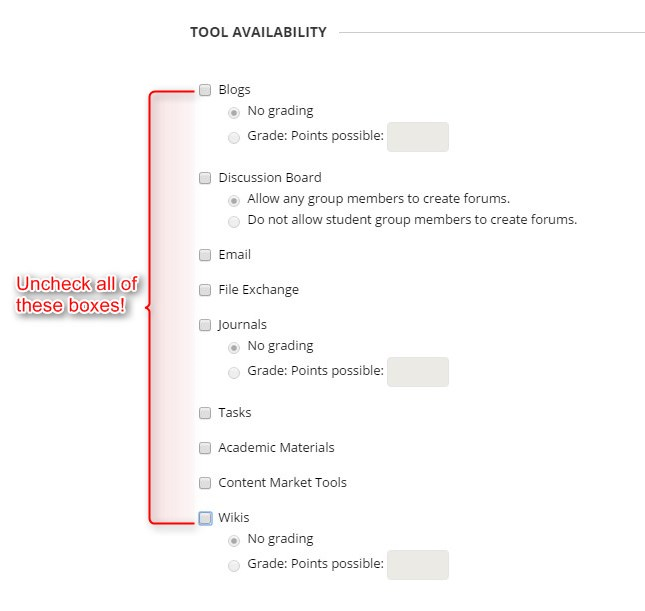
8. Uncheck the all items located under Tool Availability
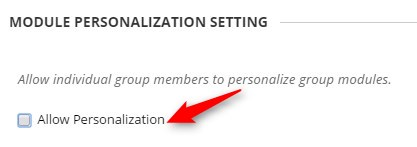
9. Uncheck the Allow Personalization option
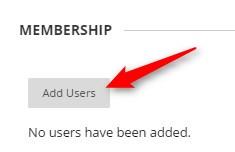
10. Click Add Users
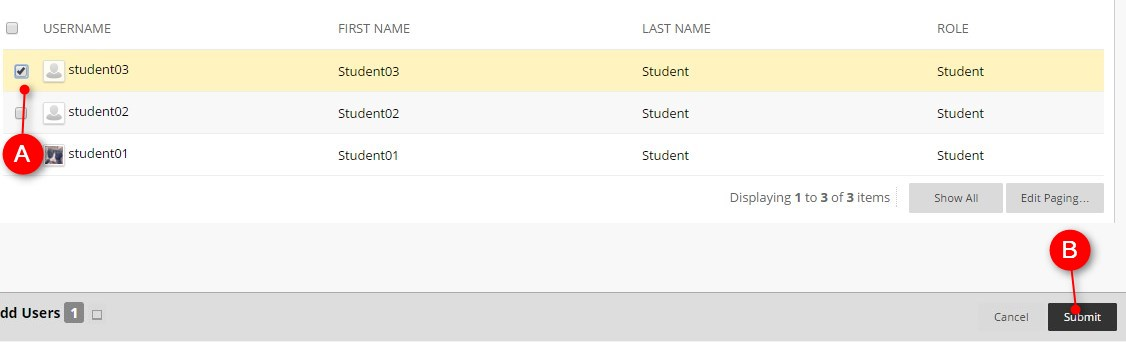
11. Put a check by each username you want to add to the group and click Submit
12. Click Submit

Directions for Extending Time on an Assessment:
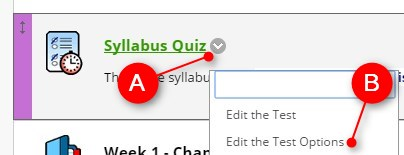
1. Locate the assessment you need to add the extended time to
2. Click the Chevron and click on Edit the Test Options
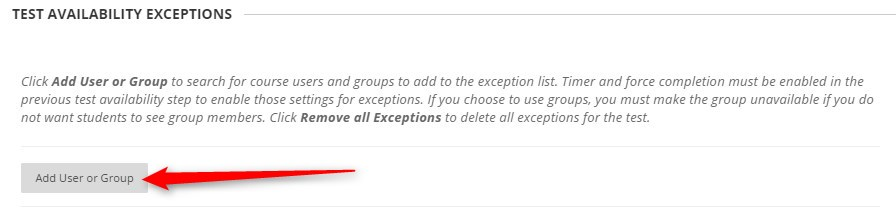
3. Scroll down to TEST AVAILABILITY EXCEPTIONS and click Add User or Group
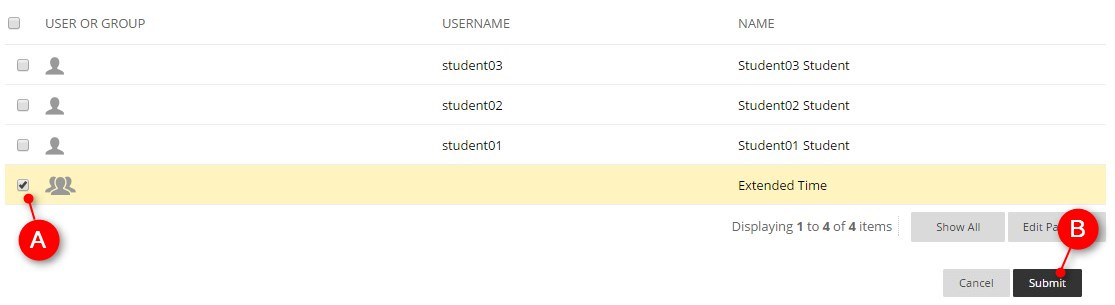
4. Click the box by the correct group name and then click Submit
5. Change time, attempts and/or availability as needed
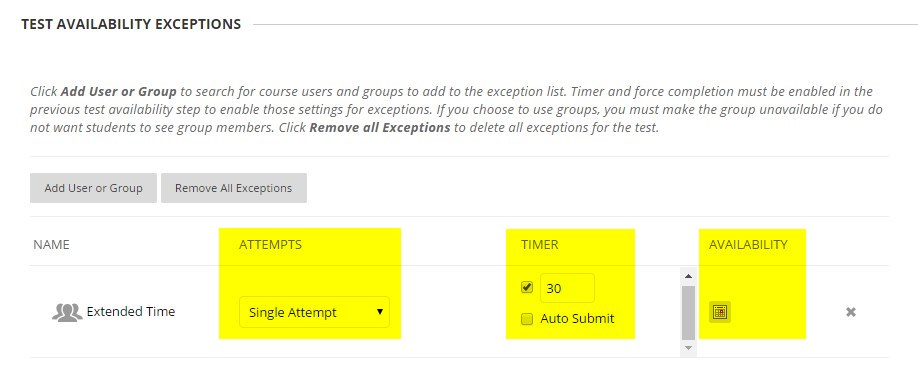
6. Click Submit
