Adding an image to your content in Blackboard requires you to upload the files into Bb and then insert them into your content. Here’s how to do that:
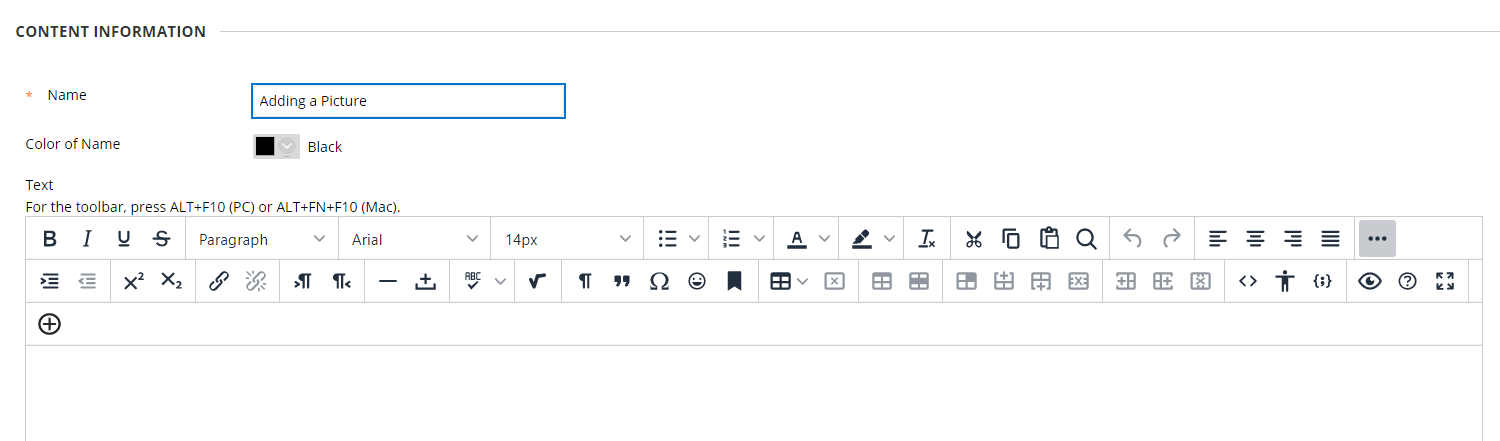
- When you add content to Blackboard, the following toolbar appears:
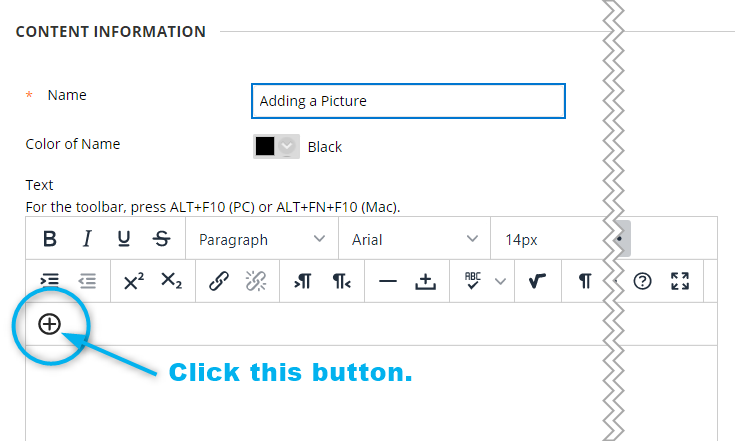
- Click the Plus button shown below (the plus button) to begin the process of adding an image to the content items in Blackboard.
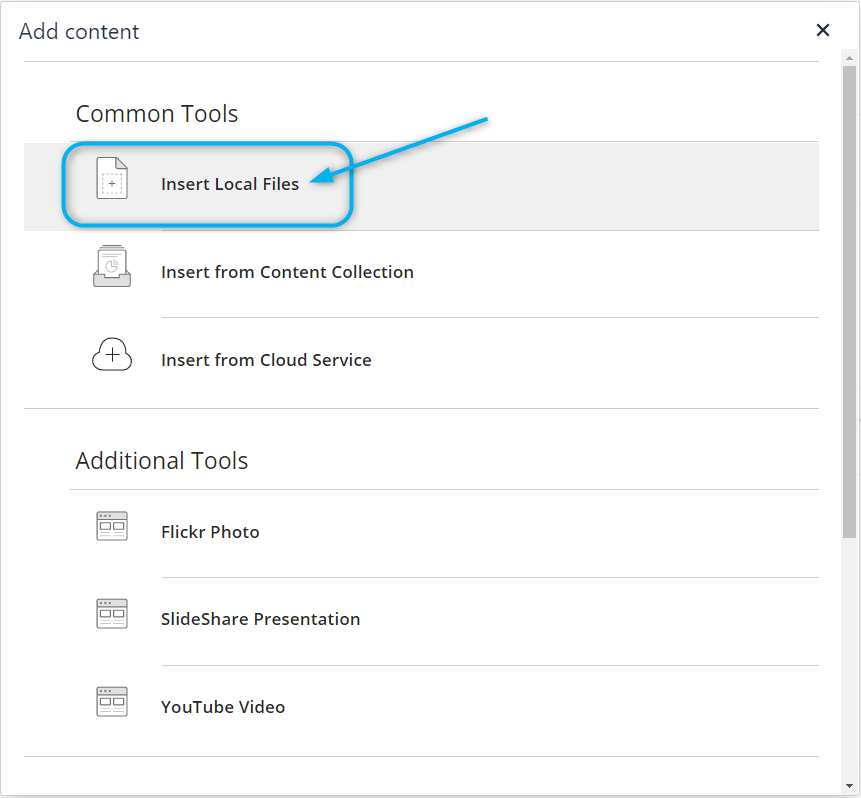
- Choose Insert Local Files from the list.
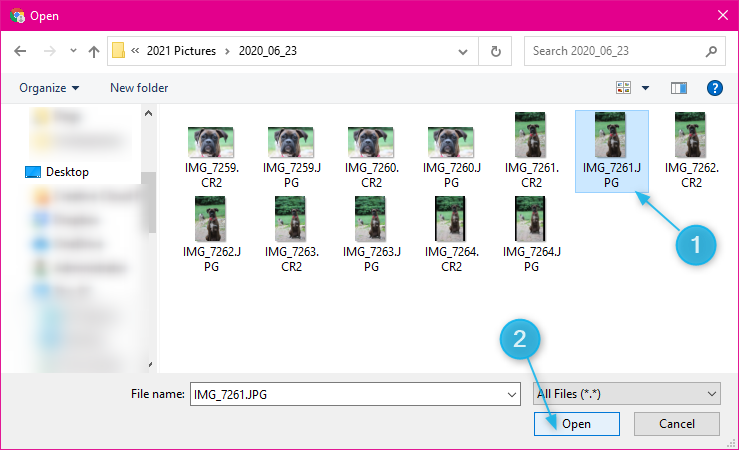
- Choose the image from your computer files.
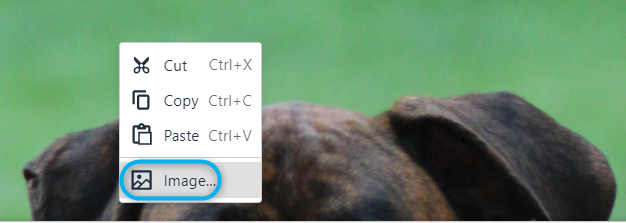
- Once the image is inserted, you’ll want to edit it. Right-click on the image and choose Image!
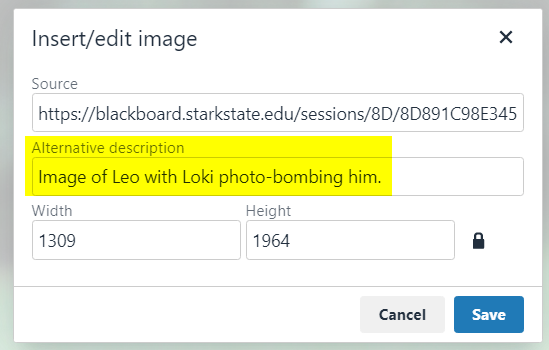
- Add an Alternative Description to the image. This is an ADA REQUIREMENT. This is not optional.
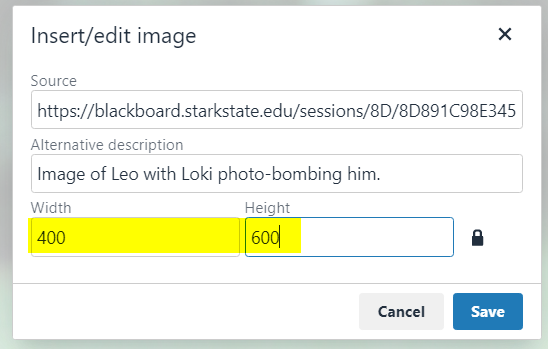
- The size of the image may be too large and need to be made smaller. Keep the largest image size number under 800.
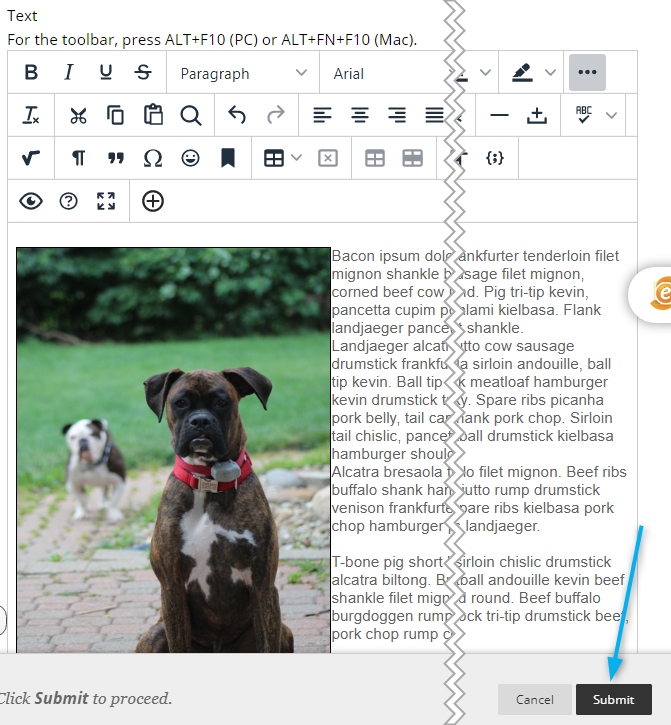
- Add your content and Submit the item.
Here’s a video that steps you through the process.